I love a great wreath as much as anybody, but you all know I’m too cheap to buy them. This time of year for me tends to be insanely busy, between working full time, weddings and the correlating festivities, managing the garden (and many more painful things? Really… I’m clearly suffering here), time is limited. Thus, I limit my crafts to only the simplest and fastest and those with the most rewarding. This wreath was one of them.
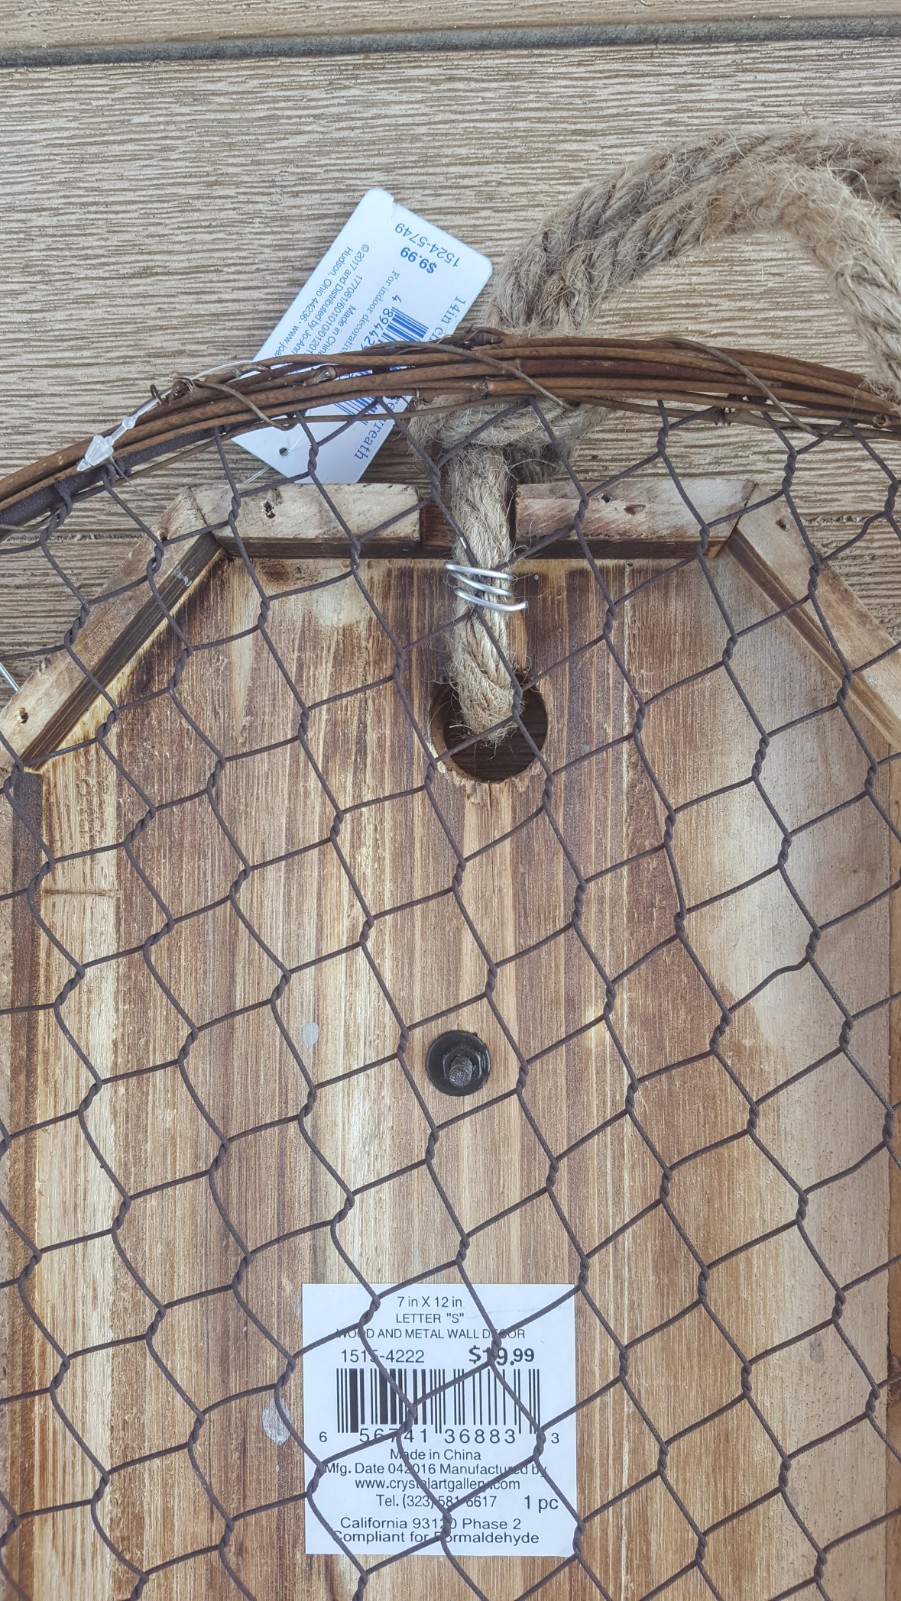
I found myself in Joann’s Fabric on Thursday creeping on the Summer sale items, particularly the Americana stuff. There wasn’t a ton. I always peek in the clearance isle (just in case) and I spied a few gems. Some stray letters and this sweet chicken wire screened wreath form. All seriously marked down. I was gonna make this work one way or another. I mean, look at that S!

All I needed was a U so I popped into Michael’s and found one on clearance there – it happened to be the right size and medium and I could tell the craft Gods were smiling on me. Sick of me yet? Me too- here’s the tutorial:
Supplies:
– Screened wreath form (if you can’t find, would be very easy to make!)
– USA letters of your desired size but not too big to fit on your wreath.
– Ribbon
– Craft wire, pliers
– Scissors
1. Lay out your design first. I started with the S because it centers everything. Anchor that down using your craft wire and pliers. It’s important when looking for the letters to make sure there is something on the backs of them that can be anchored to the screen.

2. Once the U is on, position the other two letters. Attach them from the back with your craft wire as below.


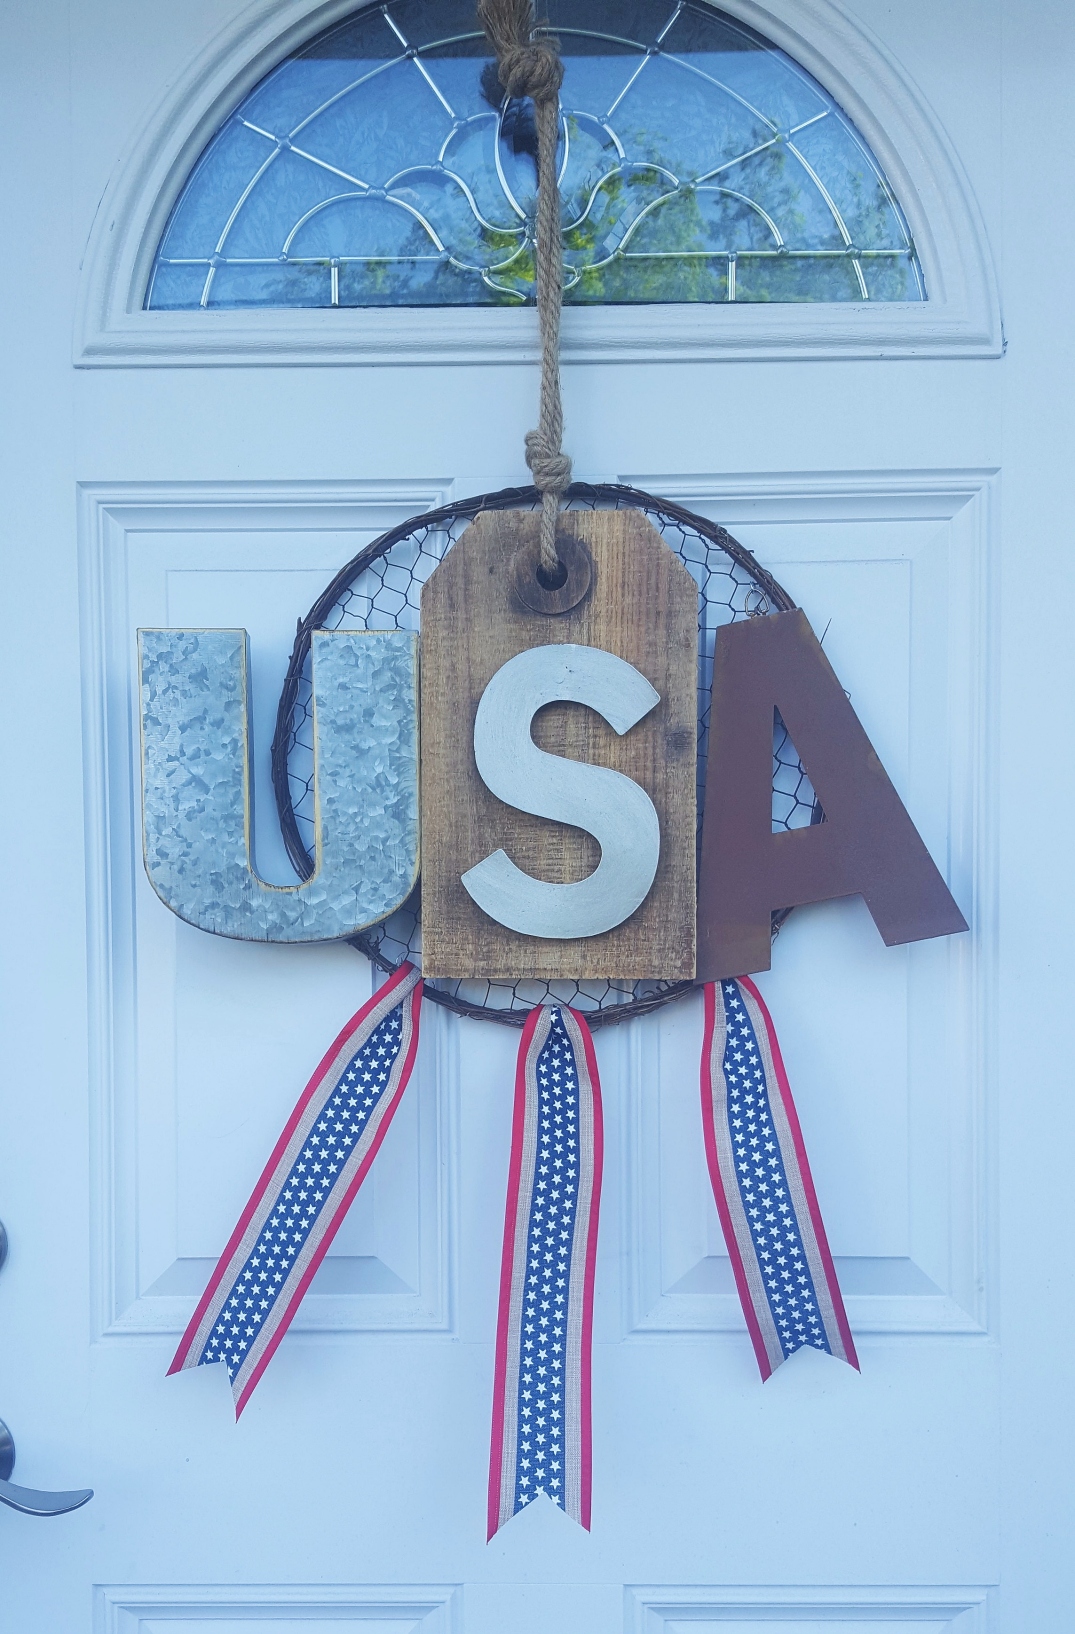
3. Hold up the wreath. If there is no rope to hold it up with, afix some ribbon or twine to the top center of the wreath. Hold up and let many as it naturally would on your door. If you have different sized letters or they are made of different materials, the wreath may tilt to one side. No problem, just adjust the heavier side’s letter closer to the middle and the lighter side’s letter a little more to the outer edge. It may not be perfect but this is a mix-and-match wreath anyways.
4. Attach your ribbon. I put a few dangling from the bottom. I love this ribbon! A little trick for wide ribbon with wired edges: tuck one end through a hole at the base of the wreath and tuck it under itself. While holding the part that is wrapped around the base, gently tug the long ribbon strand to tight the wrapping and then pinch with your fingers. No big awkward knot and it will stay affixed to your wreath.


5. Hang your wreath as desired. I hang mine from an upside down hook on the inside of my door. Do what works for you.

So after making this wreath and hanging it up I thought it looked a lot like a dream catcher. Am I right? I don’t hate it. So of course I’m calling it the American Dream Catcher, because I can’t un-see it as anything else. Plus, I love a good pun. And in the spirit of America’s 241st birthday and the political climate that we are in, I think we could all use a gentle reminder of what makes our country awesome (or perhaps we all need the help of said dreamcatcher… Some more than others unfortunately). I digress. The point is, no matter what background we hold (economically, religiously, ethnically, and more), we are unified in our pursuit for the American Dream. Here’s to keeping up the good fight so we may all have the opportunity to catch it.
Happy Birthday, America!
Cheers!
Bridget
XOXO
If you like what you found here, give this page a follow and check out the facebook page and Instagram @craftybridge. Tons more to see over there!
