
We adore backyard fires on Summer nights. My father-in-law graciously gifted our fire pit to us for our housewarming a few years ago and we have used it ferociously. Despite being diligent with keeping a cover on it to stave off rust, the squirrels ate through the cover and ripped it apart over this past Winter. Almost immediately the spark screen rusted and fell apart. Assuming this was cheap to replace, I popped on over the Amazon and hunted… and hunted… to find the cheapest replacement for our 36″ diameter pit was going to run us over $75. Nope. Cue ingenuity.
Our spark screen frame was wholly intact, but the screen itself crumbled. So I went out and bought galvanized screening of the same size as well as galvanized steel wiring. The process of replacing the screen was simple, although a little time consuming, but for a total cost of $15, it was worth it. I was lucky enough to already have most of the supplies hanging around our basement.
What you will need:
– 1 roll 1/4″ galvanized fencing (2 foot tall, 5 foot long)
– Galvanized steel wire
– Tin snips or heavy duty wire cutters
– Pliers
– Leather gloves / work gloves
– Ruler
– String
– Sharpie
– High-heat spray paint – I used a matte black
WARNING: WEAR UTILITY GLOVES! This project works with sharp wire and potentially rusted metal. Protect yourself!
- On a firm surface, start by taking off the old rusted screen. Mine came off very easily. Discard. Sweep up the rusty mess it makes.
- A firm surface ( table, patio, driveway, etc) makes for easy cleanup. You don’t want rusty bits in your grass where they can be stepped on!

BEFORE: screen is rusted, ripped, damaged and separating from frame 
Warning: Removing the screen makes a mess!
- A firm surface ( table, patio, driveway, etc) makes for easy cleanup. You don’t want rusty bits in your grass where they can be stepped on!
- We will be replacing the screen in four sections or ‘wedges’. This helps keep the shape of the screen
- Take a long piece of string and measure from the top of the frame down to the base of the frame. Using a sharpie, mark on the string this length. Cut the string a few inches longer than this length. *String #1

- Take a second piece of string and measure the base length of one quarter of the frame. Cut this length of string. *String #2
- Roll out your fencing (use some bricks or stones to keep it from rolling back up).

- Tie the sharpie to the end of String #1. Starting at the top of the fencing, hold the tip of the string in one hand and the sharpie in the other, with the string taught, draw a curve at the length of the string. If you have a really good eye, draw that curve until the stationary end of the string shapes a right angle. If you’re like the rest of us, draw a curve, stop, take your String #2 and measure the curve to make sure it is the length of the base of the quarter of the screen. Then add an inch for good measure.

- Using the ruler, Draw a straight line from the point which you held your stationary end of your drawing line to the ends of each curve. You should now have a shape drawn that looks like a triangle with a curved bottom. Or a quarter of a pie (I relate to food-shapes, personally).
- Cut this wedge out using your tin snips. WEAR YOUR GLOVES.
- Hold the wedge over a section of the frame. Does it fit? Does it need some trimming? Adjust accordingly. Leave enough on the edges to overlap into the frame so that you have full coverage.
- If you find your wedgge to be too small, a measurement went ary somewhere. Remeasure and add one or two inches to all sides for good luck and repeat steps 6, 7, & 8.
- Once you have trimmed your wedge to your liking, use it as a template for 3 more wedges. Place on your fencing, trace and cut until you have a total of 4 wedges. A whole pie.
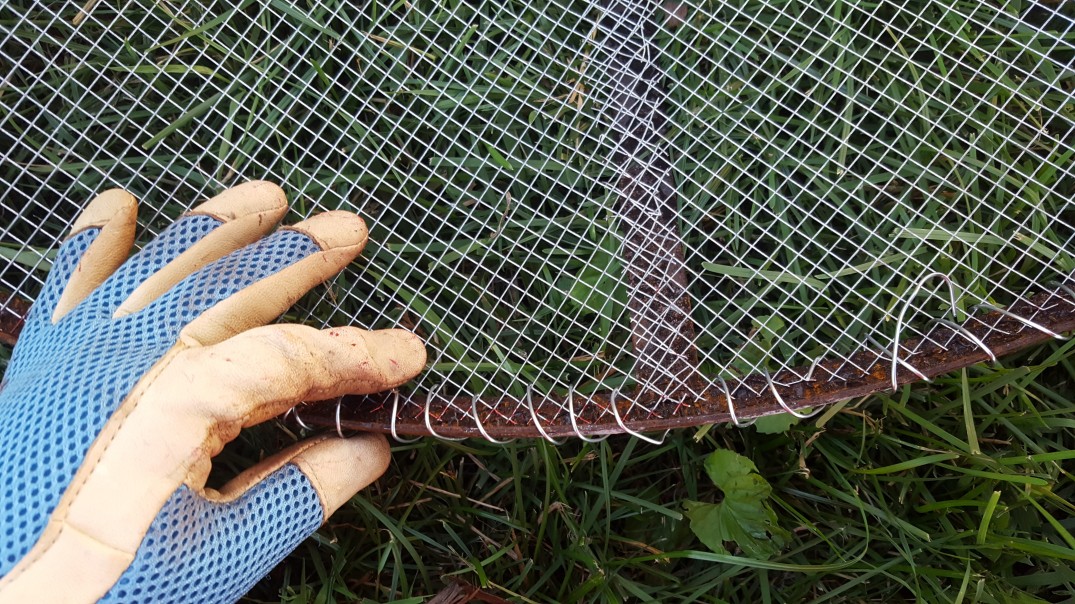
- Take your frame and turn it upside down, so it resembles a bowl. Take one wedge and line it up with one quarter of the frame. Line up all edges. Remember, the rounded edge of the wedge (the base, or the crust of the pie) matches up with the base of the frame. Grab your wire. Cut several 1-1 1/2 foot long pieces of wire.
- Starting at the base of the frame, wrap wire around the frame and through every 3rd or 4th hole in the fencing. I did this just using my gloved hands. When your wire is ending, tuck it under at the back of the frame and pinch with pliers to stay put. Once you get to the edge of the base of this quarter, stop.
- Add a second wedge. Repeat step 11. The adjacent edges to your first wedge will overlap a little bit. This is good. Repeat step 12 along the base.
- Once you have two wedges secured at the bases, you can line up the adjoining edge and wrap wire along the vertical frame. I found this easiest to do by flipping the frame over so it is right-side up. Repeat the same process as step 12. Thread wire through every few holes and around the frame starting at the bottom and working your way to the top. Stop at the top.

- Add your third wedge and repeat steps 13 and 14.
- Add your forth wedge and repeat steps 13 and 14 and finally finish by wire wrapping the last vertical frame and fencing edges.

- Tidy up by tightening any loose ends with your pliers. Tuck or clip stray edges or anything that feels sharp.


- Spray paint the entire new spark screen with high-temp resistant paint. This will stave off more rust. Give it 2 or 3 coats. I could afford to add one more on mine, even.


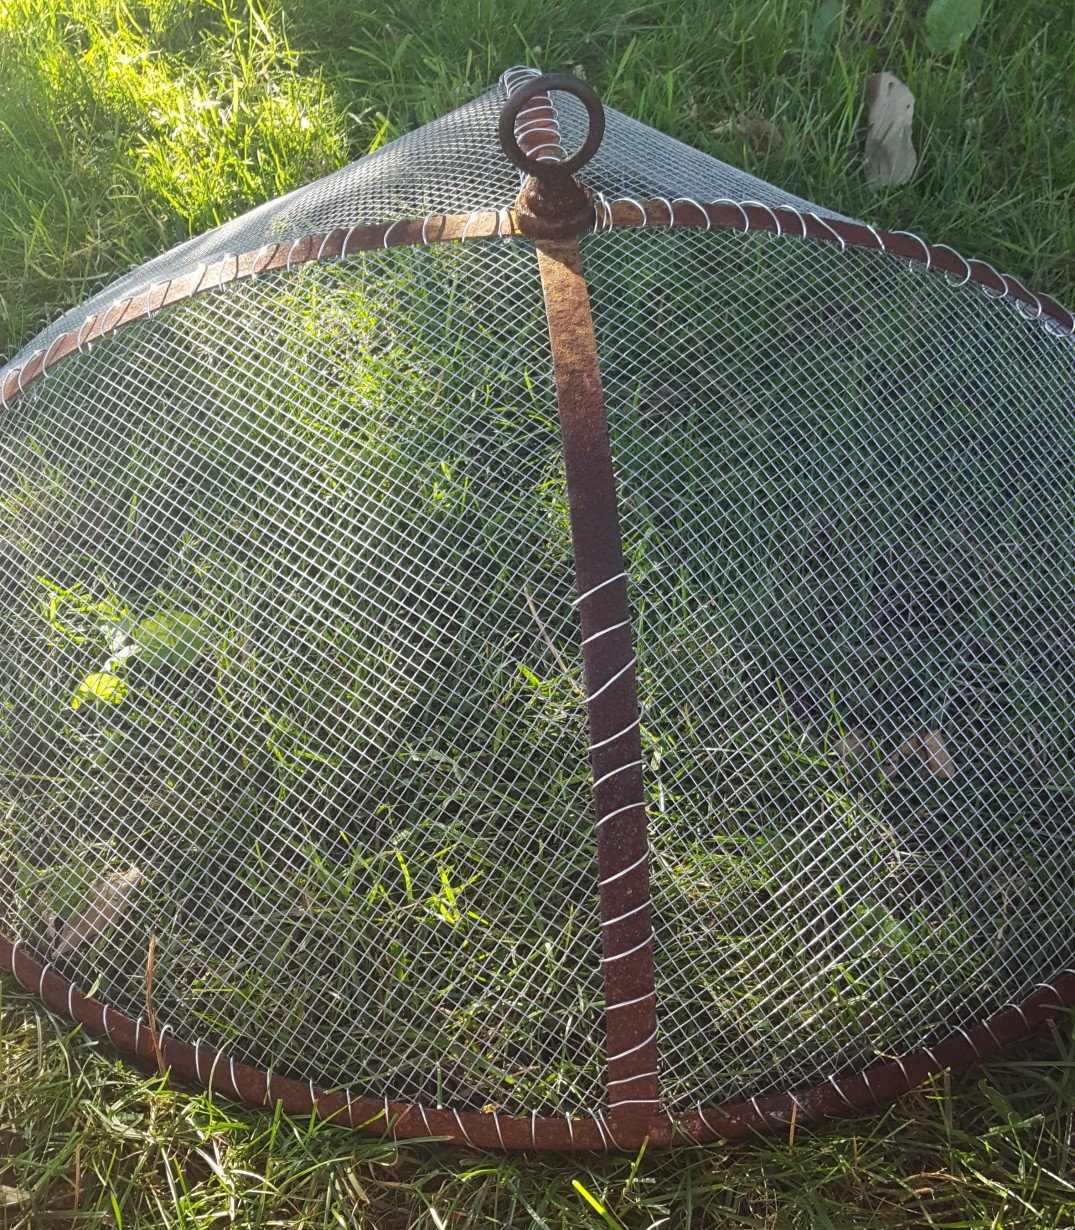
Done!! Although a little tedious, this spark screen replacement was totally worth the $60 I saved by making it. I’m hoping it will last me at least a few years with some care so I bought this great cover on Amazon to protect it from the elements.

Let me know if you try to make your own and how it turns out! Or if you buy a spark screen instead, make sure to cover it with a weather-proof cover (ie learn from my mistakes haha)! Mine is now ready for the changing season and the colder weather, but especially the snow and rain.
Cheers,
Bridget
XOXO
If you like what you found here, give this page a follow and check out the facebook page and Instagram @craftybridge. Tons more to see over there!
